Diaper Size Fit Guide
Having a baby means you’ll be changing diapers up to 10 times a day! That totals around 70 diapers a week, 280 or more a month, and nearly 3,360 in the first year. With such a significant investment, it’s wise to become a diaper size expert early on.
Tips to Become a Diaper Fit Pro:
Choose the Right Size
Use the chart below to select the appropriate diaper size based on your baby’s weight and stage. However, always check for signs of a poor fit once your baby is wearing them. Persistent leaks, red marks on the skin, or gaps indicate an improper fit. If your baby is nearing the top of the weight range, it might be time to move up a size.
Diaper Sizes by Weight:
- Newborn: Up to 10 lbs
- Size 1: 8 - 14 lbs
- Size 2: 12 - 18 lbs
- Size 3: 16 - 21 lbs
- Size 4: 20 - 32 lbs
- Size 5: 27 - 35 lbs
- Size 6: Over 35 lbs
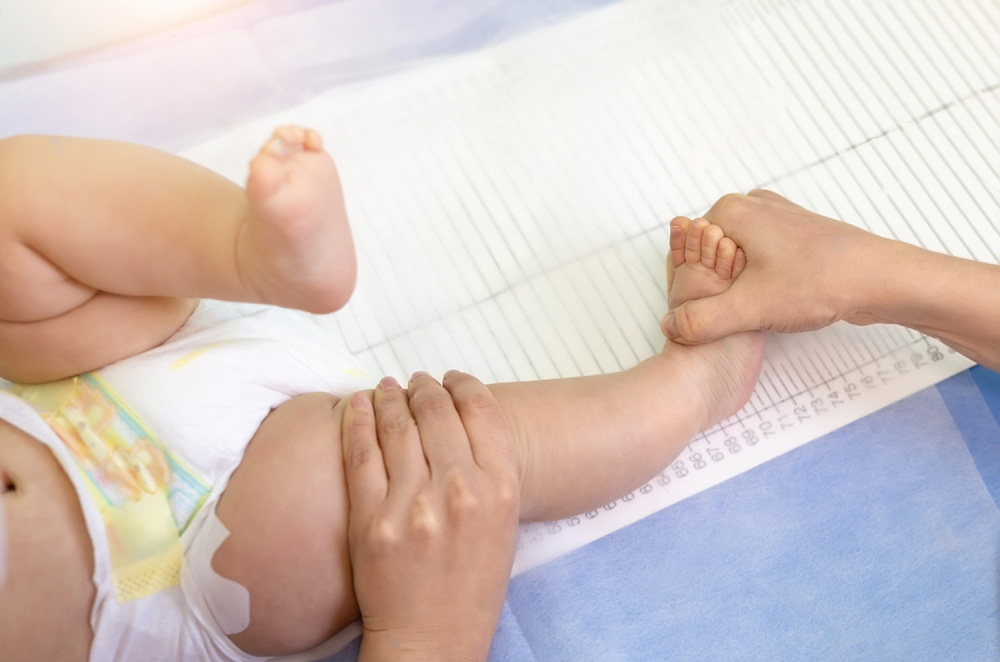
Try It on for Size
Whether you’re new to diaper changing or a seasoned pro, you’ll get plenty of practice with your baby. You can follow these steps:
- Open a clean diaper and place the back half (with tabs) under your baby, aligning it with their waist. If the dirty diaper is messy, use a cloth, towel, or disposable pad under your baby while cleaning.
- Unfasten the tabs on the dirty diaper and fold them over to prevent sticking.
- Pull down the front half of the dirty diaper. For boys, cover the penis with a clean cloth to avoid getting peed on.
- Use the front half of the dirty diaper to wipe off most of the poop.
- Fold the dirty diaper in half under your baby, clean side up, lifting your baby’s bottom by grasping both ankles.
- Clean your baby’s front with a damp wipe, cloth, or gauze. For girls, wipe from front to back to prevent infections.
- If there’s poop, clean the bottom with another wipe, lifting the legs or rolling your baby gently to the side.
- Let your baby’s skin air dry or pat it dry with a clean cloth. Apply diaper cream to prevent or treat diaper rash.
- Remove the dirty diaper and set it aside. The clean diaper should be ready underneath your baby.
- Pull the front half of the clean diaper up to your baby’s tummy. For boys, point the penis down to avoid leaks.
- For newborns, avoid covering the umbilical cord stump until it falls off. Use special diapers with a notch or fold down a regular diaper.
- Ensure the diaper between the legs is spread comfortably to prevent chafing.
Adjust the Fit
Once you’ve chosen the right size, ensure the diaper fits well to prevent leaks. If it looks crooked or rides up, adjust it. After each change, check that all areas, including the backside and hips, are covered. The fit should be straight and symmetrical. The waistband should sit at the waist, not too high or low. Re-sealable tabs allow for adjustments to achieve a snug, flexible fit.
Dealing with Diaper Rash
Despite a diligent diaper-changing routine, diaper rash can occur. It’s caused by the skin’s contact with urine and stool. The acidity, frequency, and consistency of the stool, along with the urine’s pH, contribute to red, painful areas on the skin.
To prevent diaper rash:
- Use hypoallergenic, fragrance-free wipes.
- Let your baby air dry before putting on a new diaper.
- Use cornstarch to keep the bottom dry.
- Apply a zinc oxide-based diaper cream to protect the skin.
If a rash develops, consult your pediatrician. Certain foods and medications can cause diaper rash, so inform the doctor of any potential irritants.
When to Change Sizes
If a “blowout” occurs, the diaper size might be the issue. Size is a common cause of leaks or blowouts.
Check the current diaper size for fit. Red marks around the legs and tummy from the elastic indicate the diaper is too small. If the diaper feels snug or leaks, it’s likely too small. Try the next size up to see if it fits better and absorbs more. If leaks stop and the fit improves, your baby was ready for a larger size. If there’s excessive gapping at the legs and waist, the diaper may be too large. Wait for your baby to gain a bit more weight and try again.